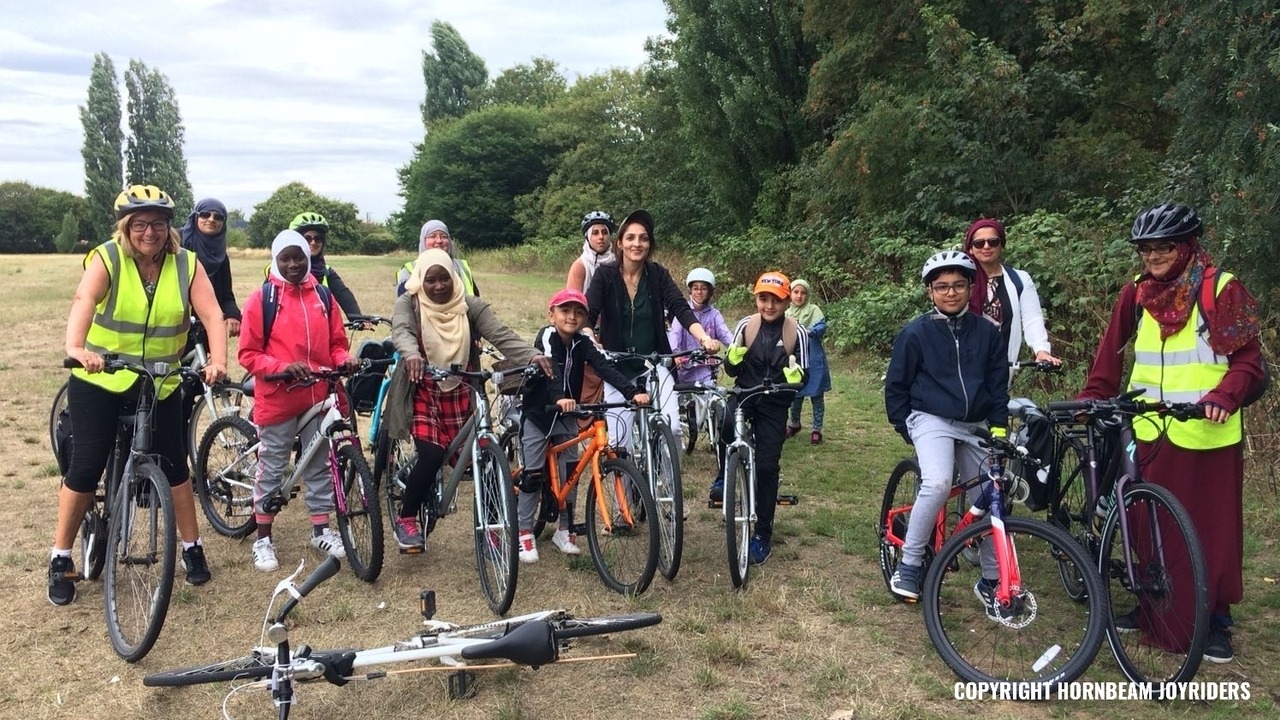
Having started a blog on my dual hobbies of cycling and jam, I suppose I was the natural choice of Ride Leader for this year’s Berries and Bikes ride with Hornbeam JoyRiders. The inaugural Berries and Bikes ride last year was a massive hit with our riders so we knew it would be popular. That ride was a two day event, with the ride on a Sunday followed by a cooking session in the Hornbeam kitchen in Walthamstow on Monday, where people made elderberry syrup and blackberry jam.
This year we sadly couldn’t get the wonderfully talented Kim from the Hornbeam in to do the kitchen session. Nevertheless it was a near certainty that a morning of berry picking by bike would still draw in the crowds. As it happened, the tickets all went within about an hour!
Leading up to the ride there were a few, what shall we call them, hiccups? Yes, hiccups. Lots of emails back and forth to sort out the right number of kids bikes in Jubilee Park after the council informed me that they were moving most of the bikes that I needed for a summer cycling course. I had to transport a couple of extra bikes myself between locations a few days before, and my plan of taking them via a borrowed cargo bike was scuppered (that’s another story!) so i ended up wheeling two kids bikes, one in each hand, a couple of kilometres to Jubilee Park.
Light rain was forecast for the day, which would mean a wet ride as well as wet berries. On the day itself, I arrived at Jubilee Park and it was still dry. There was still hope that the weather would hold out- and, apart from a little drizzle at the end, it did.
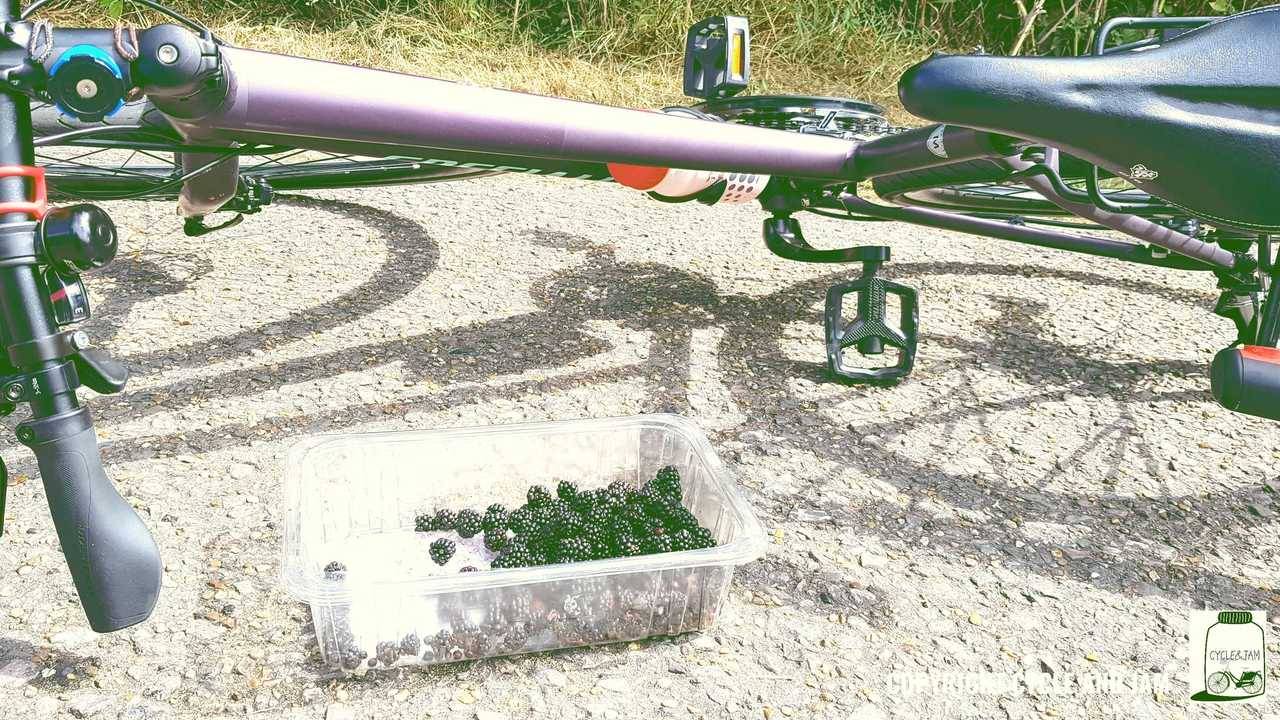
We allocated bikes to everyone- there were enough bikes, yay!- and set off. We headed to the Waterworks Centre to the first spot for berries. They looked great.
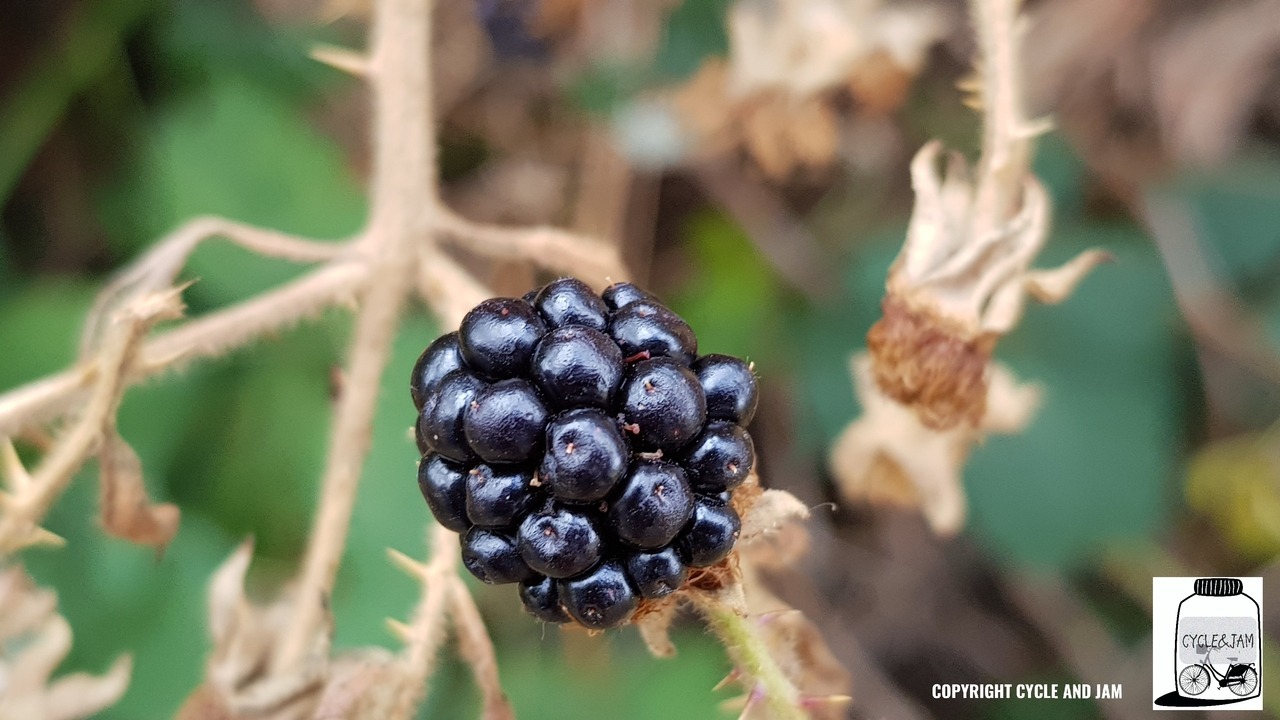
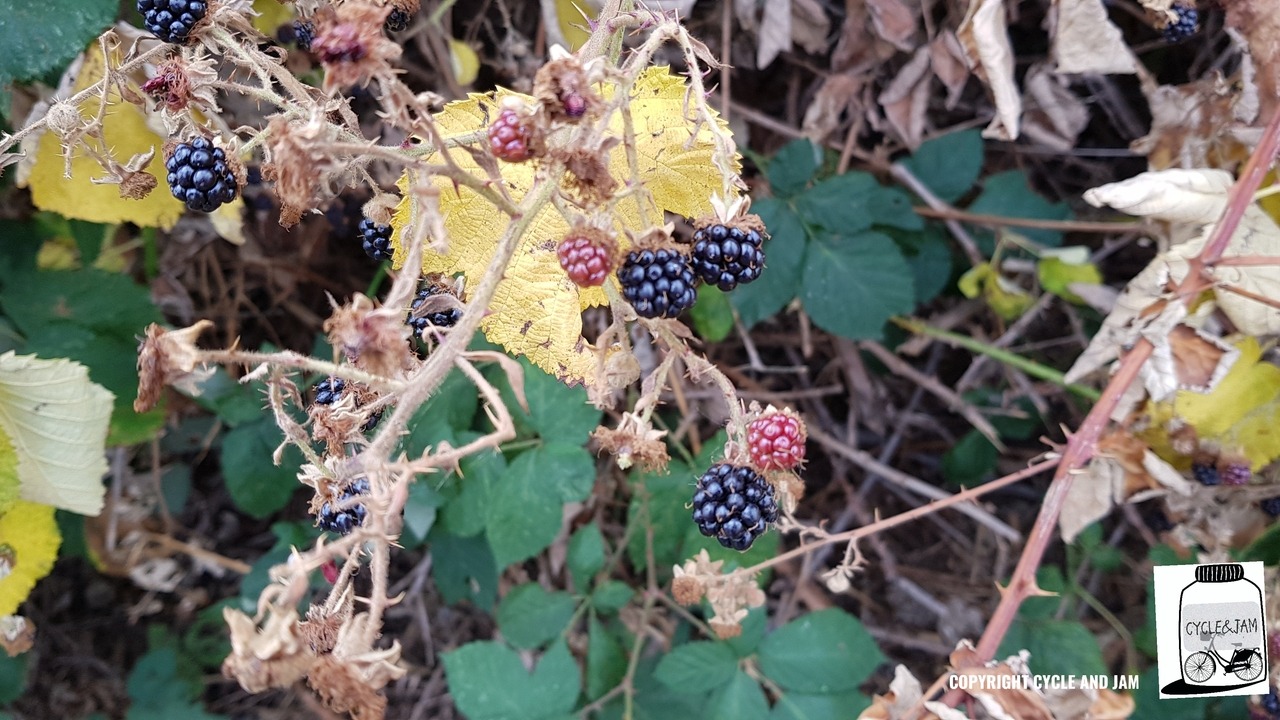
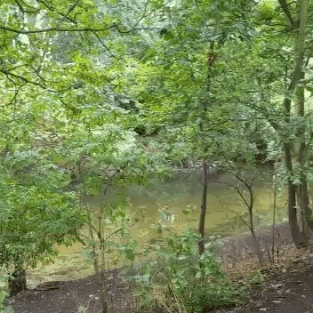
Everyone had fun picking the blackberries, and of course tasting some along the way 🙂 There were also loads of elderberries, (I haven’t got any pics of those). We stopped for a while, then moved on to another spot further down the Waterworks Centre, and picked some more. It was a nice spot to settle down for a few snacks that people had brought along as well. It was so beautiful and you wouldn’t really believe you were still in East London!!
We finished off with a longer ride going round the rest of the Waterworks Centre and then onto Leyton Marshes passing by the riding school. On the way back we had a minor fall and a puncture to deal with. Everyone rallied round to help, and we got both riders back on their bikes as quickly as possible.
On my recce ride a few days before to check out good spots for berries, I picked a nice selection of blackberries and elderberries, and combined them with apples from my garden to make jam. The recipe is below.
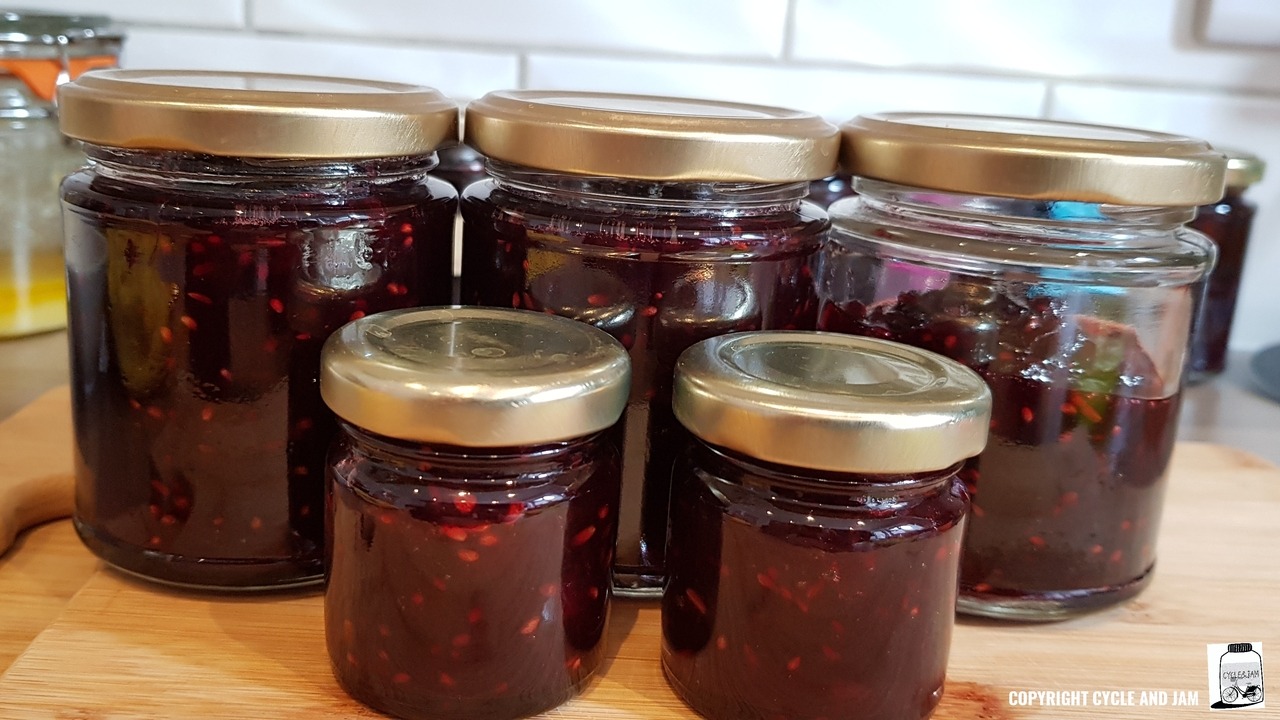
Blackberry and apple jam
Ingredients
- Blackberries
- Apples
- Sugar
- Water
Method
- Place a saucer in the freezer. Start sterilising your jars if needed.
- Wash the blackberries and make sure there are no stalks or leaves etc. Weigh them, and then add to a heavy bottomed steel pan. Add some water and simmer on a low heat.
- Weigh enough apples to give you the same weight of blackberries you have, once peeled and cored. So 1kg blackberries would need 1kg apples, but use a couple extra to account for the loss in weight after prepping the apples. Peel and core your apples, then chop.
- Optional: Once the blackberries have softened, remove half from the pan and pass through a sieve to remove seeds, then put the blackberries back in the pan. This is optional, you can leave the seeds in, or you can remove all the seeds, depending on your preference.
- Add the apples and simmer until softened. You may need to add more water. You can use a potato masher to help mash down the fruits.
- Once softened, add the sugar. You should technically add the same total weight of fruits as sugar. So if you had 1kg total fruit, you’d add 1kg sugar. However I always try to add about 75% weight to lower the sugars slightly. You don’t want to go below this though if you want a long lasting preserve. Let the sugar dissolve then increase heat to rolling boil (this is when the jam is boiling over on a really rapid boil).
- Test for the set after about five minutes. There are several methods to do this, the freezer plate method is easiest I find. Put a drop of jam on your frozen plate and wait a minute. Then push it forward with your finger- if you get a crinkle, it’s set. You can search online for pictures or videos of what this looks like. If not set, continue boiling a few minutes at a time and keep checking for set.
- Once set, leave for about five minutes then remove the scum from the surface and put into your sterilized jars.
